
GoPro Max 2! How to Film and Edit Dynamic Hyperlapses!
🛍️ Products Mentioned (4)
Learn how to film AND edit dynamic hyperlapses from start to finish using the GoPro Max 2. In this video, I walk you through the full workflow from filming techniques to editing tips that help you create smooth, professional-looking hyperlapses. Whether you’re a beginner or looking to level up your motion shots, this guide will help you get pro hyperlapse results. What you’ll learn: How to film dynamic hyperlapses with the GoPro Max 2 Movement techniques for more cinematic results How to edit hyperlapses step by step Tips to make your hyperlapses look clean and professional If you enjoy tutorials like this, don’t forget to like, subscribe, and comment if you have questions or want to see more GoPro tips. Contact: ColeBielecki@gmail.com Instagram: ColeBki TikTok: Colbki ColeBielecki.Substack.com Buy me a cup of coffee and help support my channel! Click here https://ko-fi.com/coleb 🎬 Purchase my DJI Osmo Pocket 3 LUT Pack here: https://ko-fi.com/s/38043ec2d2 Link to GoPro Max 2: https://go.shopmy.us/p-37403529 Link to Pelican Sling bag: https://go.shopmy.us/p-37449273
About This Video
Frequently Asked Questions
🎬 More from Cole Bielecki

5 Real Reasons I Use the Canon RF 70–200 F4 for Video!
251 views
GoPro Max 2 Is Not What I Expected! VLOG Test!
134 views
Why the GoPro Max 2 Beats Every Other 360 Camera!
878 views
Canon's Best Travel Lens? Canon 28mm RF Pancake Review
1.1K views
5 Reasons the DJI Action 5 Pro / Action 6 Is the Best Travel Camera! Filmed in Rome, Italy!
2.0K views
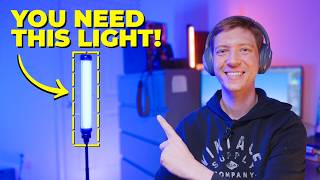
Every Content Creator NEEDS This RGB Light! Viltrox Weeylite K21 Review!
186 views