
Budget detailing set up Part 4 #cardetailing #foamcannon #automotivedetailing
🛍️ Products Mentioned (1)

This is a step by step process and install of my budget detailing set up. Here is the link tree links to all the products https://linktr.ee/logan_birchfield Thank you for all your support
About This Video
Frequently Asked Questions
🎬 More from Logan Birchfield
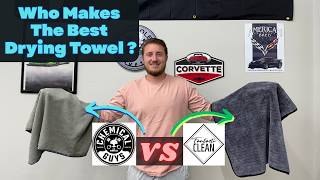
Stop using the Wrong Towel! Fantastic Clean vs Chemical guys Battle Who will win?
249 views
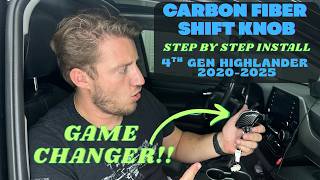
GAME CHANGER! Carbon Fiber Shift Knob Upgrade for 4th Gen Highlander (2020-2025) Cartrimhome
1.1K views
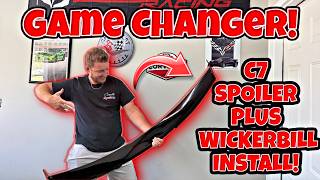
INSANE Transformation! Superautousa stage 3 ZO6 spoiler + wicker bill install C7 corvette 2014-2019
375 views
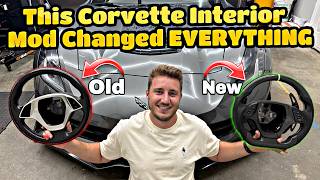
Kustom Interiors Carbon Fiber Steering Wheel TRANSFORMS My C7 Corvette! Step by Step install
378 views
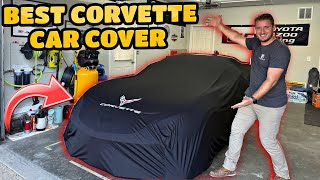
The BEST Car Cover for a Corvette C7? Elite Auto Covers Review
548 views
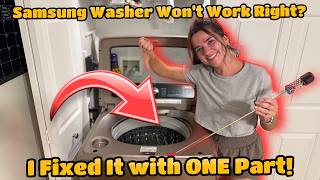
Samsung Washer Shaking Like Crazy Or Stopping Mid Cycle? Try THIS Simple Fix!
11.1K views