
DIY Custom Closet: IKEA PAX System Made Easy!
((CLICK SHOW MORE FOR EVERYTHING MENTIONED)) Ready to upgrade your space? In this how-to guide, I’m walking you through the process of creating a stunning DIY custom closet using the IKEA PAX system. Whether you’re looking to install shoe shelves, drawers, or just add some sparkle and glisten to your project, this video has you covered! I’ll show you step-by-step how to plan, assemble, and elevate your IKEA PAX wardrobe for that built-in look you’ve been dreaming of. From taking accurate measurements to building platforms for a polished finish, this guide will get your PAX system up without the hassle! Plus, learn quick tips to avoid common mistakes—like those mismatched colors (oops!). This video is perfect for anyone tackling a closet makeover or looking for an easy and affordable way to create a custom-built look at home. Hit play and let’s make your closet shine! Don’t forget to like, comment, and subscribe for more DIY projects. Let’s do this! #homeimprovement #diycloset #interiordesign #roommakeover #ikeapax Members Area - https://www.youtube.com/channel/UCASLkKG3OGvSOCm_c0iSqbg/join CHAPTERS: 00:00 - Intro 00:26 - Getting Started with Project 02:46 - Removing Trim for Renovation 03:18 - Cleaning Up Workspace Efficiently 03:52 - Elevating Carcasses for Access 06:24 - First Test Results and Insights
About This Video
Frequently Asked Questions
🎬 More from Mr. RemoteLife

DIY Dishwasher Swap: Panel-Ready Upgrade Tips!
96 views

Custom Closet Makeover: From Empty Room to Dream Space!
46 views
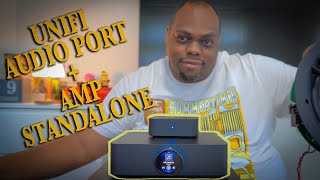
Unifi Amp And Audio Port | It Works!
1.6K views

From Zero to Pro Studio: Our Epic Build Unveiled!
162 views
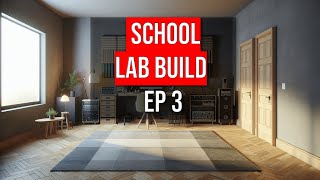
School Studio Build: Progress & Plans Unveiled! Ep 3
136 views
School Studio Build: Progress & Plans Unveiled! Ep 2
58 views