
Is this your channel?
Working with Multi-Part Files in Lightburn (Tutorial)
5.2K views· 138 likes· 6:00· Sep 3, 2024
🛍️ Products Mentioned (2)

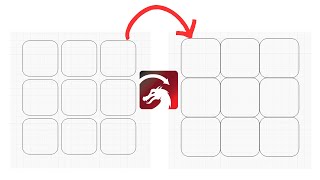
In this Lightburn tutorial, you are going to learn 3 ways to work with multi-part designs in Lightburn software. ************ Website: https://golasergo.com/ Pinterest: https://www.pinterest.com.au/golasergo/ Facebook: https://www.facebook.com/golasergo/
About This Video
Frequently Asked Questions
🎬 More from Go Laser Go
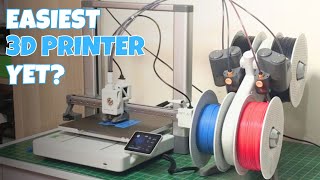
Is the Bambu Lab A1 the Ultimate Beginner 3D Printer? Review & Demo
36.8K views
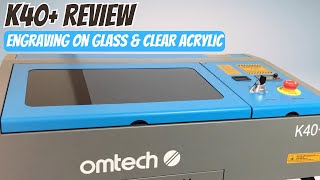
From Diode to CO2: Our Review of the OMTech K40+ Laser
33.3K views
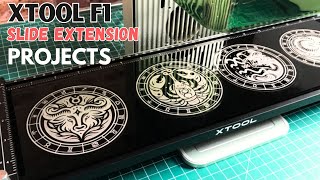
xTool F1 Slide Extension Project Ideas
6.6K views
How to Align Shapes to Minimize Waste using LightBurn
5.6K views
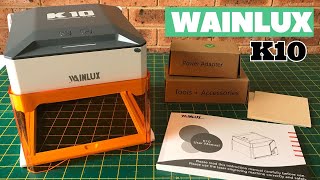
Wainlux K10 Mini Laser Engraving Machine Review & Demo
25.5K views
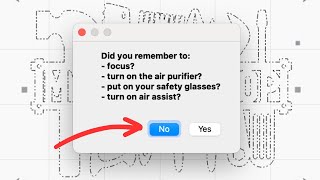
Set up Reminders Using LightBurn Job Checklists
2.2K views