
Is this your channel?
How to connect the dot on the letter 'i' in Lightburn
6.0K views· 163 likes· 3:47· Apr 3, 2024
🛍️ Products Mentioned (3)

In this video, you will learn how to connect the dot over the letter 'i' or 'j' in Lightburn. ***RELATED BLOG POST*** https://golasergo.com/connect-dot-lightburn/ ************ Website: https://golasergo.com/ Pinterest: https://www.pinterest.com.au/golasergo/ Facebook: https://www.facebook.com/golasergo/
About This Video
Frequently Asked Questions
🎬 More from Go Laser Go
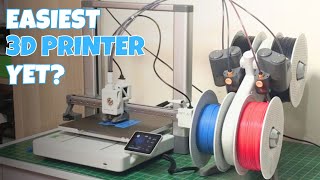
Is the Bambu Lab A1 the Ultimate Beginner 3D Printer? Review & Demo
36.8K views

From Diode to CO2: Our Review of the OMTech K40+ Laser
33.3K views
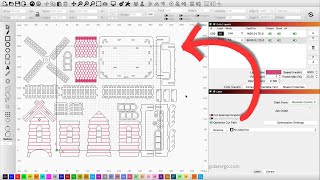
Working with Multi-Part Files in Lightburn (Tutorial)
5.2K views
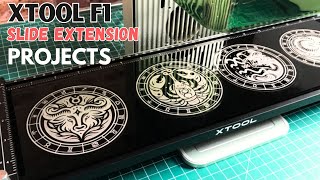
xTool F1 Slide Extension Project Ideas
6.6K views
How to Align Shapes to Minimize Waste using LightBurn
5.6K views
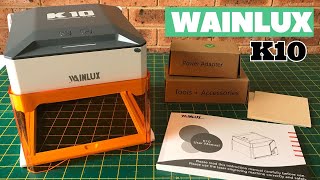
Wainlux K10 Mini Laser Engraving Machine Review & Demo
25.5K views