
How to Set Up a TP-Link Omada Network | Easy Full Tutorial
🛍️ Products Mentioned (6)
Set up your TP-Link Omada network like a pro! In this easy-to-follow tutorial, I’ll guide you through the complete configuration of the TP-Link Omada system using the OC200 Omada Network Controller, EAP110 Wireless Access Point, and an Easy Smart 24-Port Gigabit TP-Link Switch. I also integrated the Netgear RAX20 router to complete the network setup. Perfect for small businesses, home labs, or anyone looking to deploy a reliable, managed network with Omada. 🔧 Devices used in this setup: • OC200 Omada Network Controller : https://amzn.to/430ebe2 • TP-Link EAP110 Access Point : https://amzn.to/44ZMyUO • TP-Link Easy Smart 24-Port Gigabit Switch : https://amzn.to/3SnSjUM • Netgear RAX20 Router : https://amzn.to/42ZXyiz Visit my Website: https://torogipro.com/ HELP ME MAKE A DREAM OF 500,000 SUBSCRIBERS BUY me a coffee: https://paypal.me/torogipro ▬▬▬▬▬▬▬▬▬▬▬▬▬▬▬▬▬▬ Follow me on social media: Facebook: https://www.facebook.com/Ginard.Guaki Linkedin: https://www.linkedin.com/in/ginardguaki/ Twitter: https://twitter.com/ginard_guaki ☑️For business inquiries, gifts, collaborations, PR packages & sponsorship: Email at: ginard09395611387@gmail.com ▬▬▬▬▬▬▬▬▬▬▬▬▬▬▬▬▬▬ Please don't forget to LIKE, SHARE, AND SUBSCRIBE. Let us Keep the love and support burning. Love you all. 😍😘
About This Video
Frequently Asked Questions
🎬 More from Torogi Pro
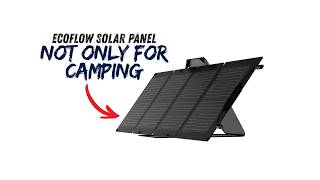
Maximize Your EcoFlow 110W Solar Panel — Not Just for Camping (Save Some Bucks)
534 views

DIY Smart Lock Installation TP-Link Tapo DL110 Full Setup
663 views
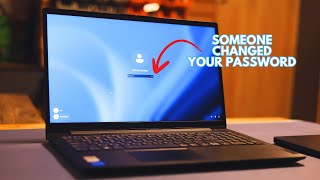
Forgot Your Windows 10/11 Password? Here's How to Get Back In Immediately (2026)
1.9K views

This iPhone App Exists… And Almost Nobody Uses It
1.0K views
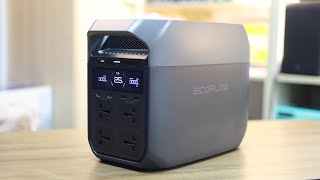
EcoFlow Delta 3 Unboxing | Everything Inside & Key Features
997 views
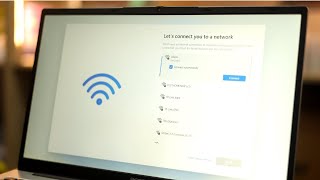
Windows Forces Internet? Here’s How to Set It Up Offline
2.2K views