
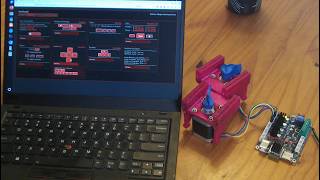
Installing the OnStepX firmware on a FYSETC E4 board for DIY Telescope GOTO/Tracking control
🛍️ Products Mentioned (7)
FYSETC E4 board
Main OnStep Wiki for the E4 board
OnStepX Wiki for uploading firmware to the E4 Board
(Windows / Chrome is best)
to connect the Z-Min pin to the TMC2209 stepper drivers (PDN) so OnStepX can setup the drivers. (See photo on the Wiki
Next, Direct a web browser at the following (not HTTPS) URL
If you don't want to solder your jumper wire on, you can buy a pack which includes many female-female jumpers for $7 following my Amazon Affiliate Link
URL's and other details: FYSETC E4 board http://wiki.fysetc.com/docs/E4 Compact size: 90mm x 67mm Native Wi-Fi support 12V to 24V input power supply, 3 power outputs and 3 5V outputs 4 * TMC2209 stepper drives: X, Y, Z and E axis Onboard TF card socket CH340 for high speed USB serial connection X, Y, and Z min endstops; also supports sensorless homing Allows the use of a Z-axis probe, such as an inductive sensor, running on the input supply voltage (12V to 24V) or 5V A controllable fan, you can choose the power supply voltage (12/24V) or 5V voltage for it Xh2.54 connector, firm and easy to plug Main OnStep Wiki for the E4 board: https://onstep.groups.io/g/main/wiki/32747 OnStepX Wiki for uploading firmware to the E4 Board: https://onstep.groups.io/g/main/wiki/32794 Web installer for ESP: (Windows / Chrome is best) https://graydigitalarts.com/OnStep-Web-Tools/ Remove all of the factory jumpers (blue in my case). Jumper together (female to female jumper, or solder a single wire) to connect the Z-Min pin to the TMC2209 stepper drivers (PDN) so OnStepX can setup the drivers. (See photo on the Wiki: https://onstep.groups.io/g/main/wiki/32747/178567) Once you get the firmware installed: First, power on the FYSETC E4 and wait for about 10 or 20 seconds. Next, from a PC (best) or smartphone, connect to the ESP32 wireless access point with an SSID of OnStepX and enter the password, it is "password" (unless you change it.) Next, Direct a web browser at the following (not HTTPS) URL: http://192.168.0.1/ I paid $32 for my board shipped directly from FYSETC If you don't want to solder your jumper wire on, you can buy a pack which includes many female-female jumpers for $7 following my Amazon Affiliate Link: https://amzn.to/4vvNDPh
🎬 More from Jay Summet
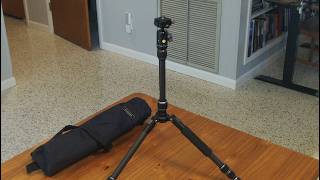
Review: Vanguard VEO 3GO 204CB G2 carbon fiber travel tripod $170
105 views
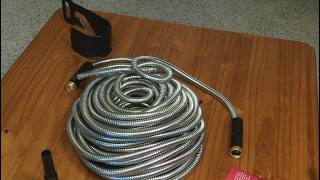
100ft stainless steel Hyper-hose $44
78 views
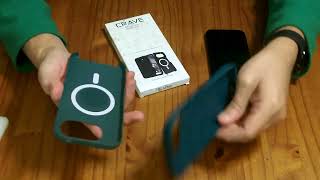
Review: CRAVE Dual Layer MagSafe compatible case for Google Pixel 10A phone $19
140 views
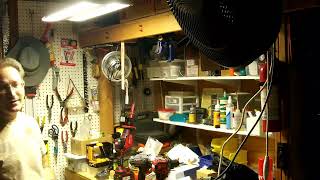
Review: SLAclite 2ft High Bay Shop hanging LED light $60
33 views
Unboxing: TUDIA dual layer slim case for Google Pixel 10a (2026) $18
181 views
OnStepX web configuration and stepper driver test on the FYSETC E4 board
273 views