
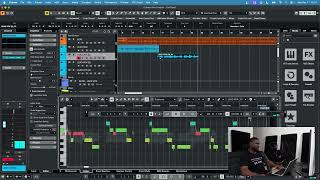
How to Mix and Master Vocals in Cubase like a PRO - Start to finish
🛍️ Products Mentioned (5)





How to Mix and Master Vocals in Cubase like a PRO - Start to finish In this free tutorial masterclass, you will learn how to set up a mixing session in Cubase, how to add effects to create a vocal mixing chain, and how to get the most out of your vocal mixing and mastering session. This tutorial also covers some features in Cubase that can be useful in getting pro-quality vocal mixes and master. LEARN FASTER Courses - https://sctutorials.com/collections/courses Vocal session stems - https://sctutorials.com/collections/sessions Midi Kit- https://sctutorials.com/collections/midi-kit Drum Kits - https://sctutorials.com/collections/drum-kits contact us: Mail - mail.sctuts@gmail.com Instagram - https://www.instagram.com/sc_tuts/ Website - https://sctutorials.com/ whatsapp; +2349039857585
About This Video
Frequently Asked Questions
🎬 More from SC TUTS | Music Production Tutorial

How to make Afrobeat x Afroswing in FL Studio
996 views
How to get a good mix in FL Studio, logic pro, cubase, ableton #audiotechnique #musicproducer
571 views
How to make MODERN Amapiano in FL Studio with Stock plugin
2.3K views
Who is a music producer ? #musicproducer #audiotechnique #musicproduction
645 views
How to Record Vocals in Cubase - Full Reocrding Session
3.2K views
How to pitch correct vocals in Cubase - Vari Audio Tutorial
713 views