
How to Fit a Texecom 360 Alarm Sensor | Step-by-Step Installation Guide
🛍️ Products Mentioned (4)
Master the art of fitting a Texecom 360 alarm sensor with our installation guide. This tutorial is designed for anyone looking to enhance their home security system, whether you're a DIY enthusiast or a professional installer. In this video, we break down the process of installing a Texecom 360 alarm sensor, a crucial component in any robust home security setup. You'll learn about the essential tools required, the best practices for placement, and the step-by-step procedure to ensure your sensor is fitted correctly and functioning optimally. Visit our website: https://aos-group.co.uk/ - - - - - - - - - - - - - - - - - - - - - - - - - - - - - - - - - - - - - - - Ready to start planning your smart home?! Contact us: https://aos-group.co.uk/contact/ - - - - - - - - - - - - - - - - - - - - - - - - - - - - - - - - - - - - - - - SO HOW MUCH DOES A CONTROL4 SMART HOME REALLY COST?! Find out here: https://www.youtube.com/watch?v=D25j-MixEWQ&t=509s - - - - - - - - - - - - - - - - - - - - - - - - - - - - - - - - - - - - - - - ALL OUR SOCIALS, PODCAST, DISTRIBUTION: https://aos-group.co.uk/links/ - - - - - - - - - - - - - - - - - - - - - - - - - - - - - - - - - - - - - - - Leave us feedback: https://g.page/r/CbHaF9bzbI6UEAI/review
About This Video
Frequently Asked Questions
🎬 More from Art of Smart
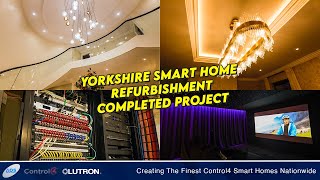
OUR MOST AMBITIOUS TAKEOVER YET - Yorkshire Smart Home Renovation & Refurb Completed Project
2.2K views

From 16-inch Mirror TV's to 100-inch Outdoor Screens - Aquavision Product Range Walkthrough
873 views
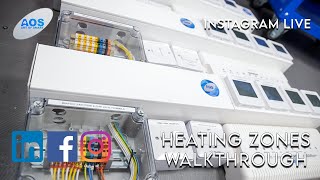
Instagram Live - Heating Zones Walkthrough
1.2K views

LITHE AUDIO PRODUCT DEMO
1.2K views
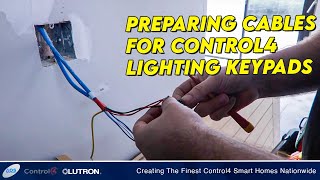
How We Prepare Cables for A Control4 Lighting Keypad
4.3K views

Top 12 Control4 Smart Home Installations! | Art of Smart
2.4K views