
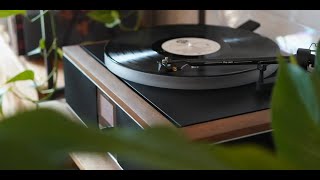
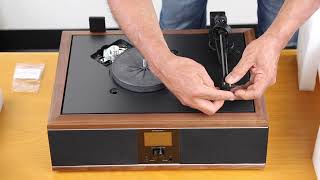
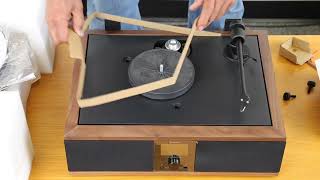
Spindeck 2 Turntable setup
Sleek and refined, the the new Andover SpinDeck 2 builds upon the legacy of the original Spindeck by offering great sound at a compelling price. Like the original, SpinDeck 2 is simple, affordable, and easy to operate with better sound quality than you would expect at its modest price. If you liked SpinDeck, you're going to love SpinDeck 2! SpinDeck 2 kicks operating convenience up a notch by adding electronic speed control and end-of-the-record automatic shut-off and arm return. No more having to jump up to lift the stylus off the record at the end of the side. Lifting the tonearm from the arm rest will start the platter, and returning the tonearm will stop it. Important Notice: Be sure to set the "Phono EQ" switch to the THRU position when connecting SpinDeck2 to SpinBase, SpinBase MAX, SpinStage or any other equipment's Phono input.
About This Video
Frequently Asked Questions
🎬 More from Andover Audio

On the Record with Bob Hazelwood: A Conversation with Christian McBride
301 views

On The Record with Bob Hazelwood of Andover Audio, Discussing Record Care & Cleaning
128 views
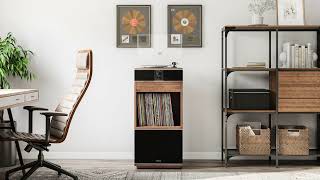
Andover-One Premiere Record Player Music System
988 views
Andover One All in One Record Player Easy Setup
727 views
Andover One All-in-One Record Player Setup
1.6K views
Andover One E Compact All in One Record Player setup
811 views