
How to Add Text Behind an Object in Photoshop 2026 | Place Text Behind Object & Make It Transparent
If you’ve ever seen those cool designs where text sits behind a person or object and wondered how it’s done, this video will walk you through it step by step in Photoshop. Hi, my name is Limon and in this video, I will show you how to add text behind an object in Photoshop. It’s a really fun effect that can instantly make your designs look more professional. We’ll start by using Select Subject and Select and Mask to cleanly separate your main object from the background. Then we’ll add your text, adjust its perspective so it fits naturally into the scene, and create that “behind the object” look by layering everything correctly. I’ll also show you a neat trick using Fill Opacity and Stroke to give your text a transparent outline effect that wraps nicely around your subject. And to keep things easy to manage, we’ll link the layers so everything moves together smoothly. It might look advanced at first, but once you follow along, it’s actually pretty straightforward—and a great way to make your thumbnails or designs stand out.
🎬 More from Learn with Limon
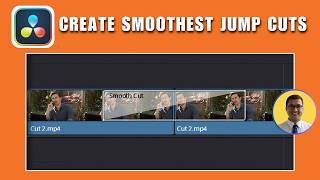
The Smoothest Jump Cuts Ever in Davinci Resolve | Smooth Jump Cuts in Davinci Resolve 2026
52 views
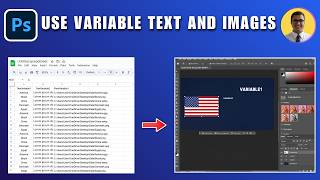
How to Use Variable Data, Text and Images in Adobe Photoshop 2026
365 views
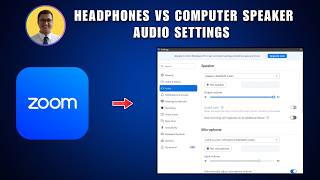
Headphones vs. Computer Speaker - Checking Audio Settings in Zoom 2026
7 views

How to Find Federal Government Jobs in the US 2026
22 views
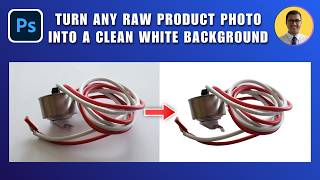
How to Turn Any Raw Product Photo into a Clean White Background 2026 | White Background in Photoshop
27 views
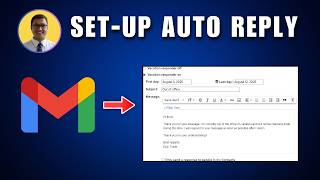
How to Set Up Automatic Replies and Vacation Responders in Gmail 2026
15 views