Vigyata.AI
Is this your channel?

How to mix vocals in Adobe Audition in under 2 minutes

394 views· 12 likes· 2:59· Mar 15, 2026

About This Video

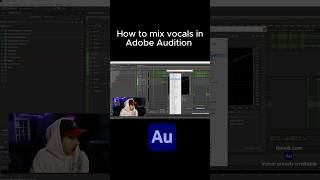
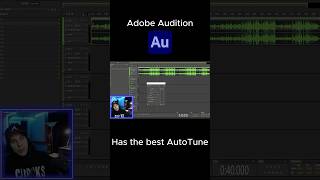
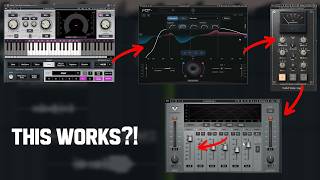
In this video I show you how I mix vocals in Adobe Audition in under 2 minutes—like, the quick “get it sounding crispy and clean” chain I reach for when I don’t want to overthink it. I run through my exact effect order and what each one is doing, starting with a Parametric EQ (Filter EQ) to shape the tone, then a DeEsser to tame the harsh “S” stuff. After that I hit a compressor (I’m using my classic Soft Me vocal compressor because I love it and I use it all the time) to level out the loud and quiet parts. From there I add a Multiband Compressor, which is basically like an EQ and compressor combined—compressing multiple frequency ranges so the vocal stays controlled without getting dull. Then I use Adobe Audition Pitch Correction as my autotune; it’s honestly an amazing pitch correction plugin. To finish the vibe, I use a Mastering effect (reverb, exciter, widener, loudness maximizer, output gain), plus my Studio Reverb settings and a nice Echo for space. Last, I throw on a Hard Limiter so nothing peaks, and I mention gain staging too—dropping the track around -10 and vocals around -14 so the chain has headroom. I play the vocal before and after so you can hear the difference.

Frequently Asked Questions

🎬 More from Kelli