
How To Replace The Front Brake Pads And Rotors On A Toyota Tacoma
In this video, I walk you step-by-step through how to replace the front brake pads and rotors on a 2013 Toyota Tacoma 4WD. Whether you’re dealing with squeaking brakes, vibration while stopping, or worn-out pads and rotors, this guide will show you exactly how to get the job done safely and correctly. I cover the complete process including: • Safely lifting and supporting the truck • Removing the wheels • Taking off the brake calipers and brackets • Removing and replacing the rotors • Installing new brake pads • Proper torque specs and reassembly • Final checks before hitting the road This tutorial is designed to help Tacoma owners save money and gain confidence working on their own vehicles. While I’m working on a 2013 Tacoma 4WD, this process is very similar for many second-generation Tacomas. If you found this helpful, make sure to like, subscribe, and drop a comment if you have any questions about your Tacoma. #ToyotaTacoma #BrakeJob #DIYAutoRepair #Tacoma4WD #TruckMaintenance
About This Video
Frequently Asked Questions
🎬 More from How to Automotive

I Put Milwaukee’s Subcompact Impacts to Work… Here’s What Happened
385 views

Fix a Floppy Shifter (Ford Van/Truck Easy Repair)
226 views
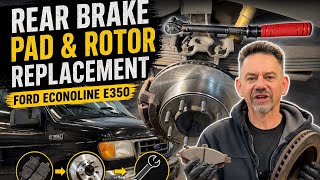
How a Mechanic Replaces Rear Brakes On A Ford Econoline Van
317 views
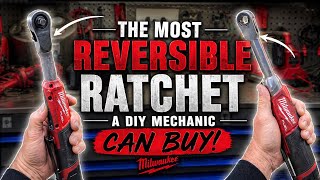
This Might Be the ONLY Ratchet You’ll Ever Need
3.4K views

2006 Ford E350 Common Problems (Rattle, Overdrive & More)
315 views

Ram 1500 5.7 HEMI Valve Cover Gasket Leak Repair + Spark Plug Replacement
987 views