
Easy Basement Subfloor for the Laundry Room Floor - a Home Improvement Woodworking Project
🛍️ Products Mentioned (5)


In our new Victorian home, we have a basement floor that apparently gets wet. We want to protect our appliances, so I'm adding a subfloor - the easy way. There are several types of subfloor products on the market, but I prefers 2 foot by 2 foot panels because they can easily be installed by one person. This style of subfloor has a plastic bottom that allows water to flow underneath it while keeping the subfloor dry. Our basement floor has some issues with it, including a few areas where we think there may be tree roots pushing up the floor, but that's for another episode of our home renovation video. The channels in the cement floor around the room make us nervous about what will happen when the snow melts in the spring. I've done this in a previous basement renovation so I'm familiar with the product. I start the subfloor installation with the tongue sides of the panel against spacers on two walls in the corner. Because the basement floor might get wet, I use scrap 2x4 pieces as spacers between the wall and the subfloor, giving me a 1 1/2 inch gap. That way I can see what happens when the ground thaws outside. After installing the first subfloor panel, I add the next one by sliding the tongue into the groove of the corner panel. I gently tap it in place with a rubber mallet. I then and the next one, and the next one until I get to the end of the room. For the next row, I cut the panel in half so the joints of the second row are staggered from the first row, in a running bond pattern. This makes for a more stable floor. Cutting these panels is easy with a sliding compound miter saw or a table saw. They can slo be cut with a circular saw or even a handsaw. The material is plastic and wood, so any wood cutting blade will work. In the video, I show two techniques for measuring where to cut the panels. It's difficult to put into words but easy to understand when you see it. Lastly, there are levelling shims that can be used if there are slight dips in the floor. They're made of plastic so they can get wet and won't rot. I think this is a great product and it's so easy to install compared to rolling out sheets of material and working with 4 foot by 8 foot sheets of subfloor panel - perfect for a one-person job. We also show a few scenes from our small town local hardware store called Perth Home Hardware Building Centre. We purchased our freezer here and had it delivered once we moved in to our new home. It's a great store that serves our community well with so much to offer. I hope you enjoyed this video and learned something new. You can subscribe to our channel and turn on all notification to get notified every time we publish a video. Our Newsletter - Sign up at https://WoodenItBeNice.ca Our Woodworking Plans - https://woodenitbenice.ca/collections/woodworking-plans Our 1-on-1 Woodworking Advice Sessions - https://woodenitbenice.ca/collections/woodworking-advice-sessions See the tools we use in our workshop and the tools we recommend: https://www.amazon.com/shop/homeimprovementwoodworking 🇨🇦 Canadian link - https://www.amazon.ca/shop/homeimprovementwoodworking For more woodworking knowledge or to contact us directly, visit our website https://WoodenItBeNice.ca Hosted by Scott Bennett, owner of Wooden It Be Nice in Perth, Ontario, Canada #basement #subfloor #laundryroom
🎬 More from Home Improvement Woodworking

8 Reasons Battery is Better than Gas Snowblower by Home Improvement Woodworking - Greenworks 2-stage
14.1K views
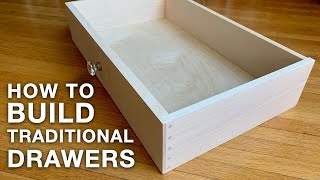
How to Build Traditional Drawers by Home Improvement Woodworking
3.6K views
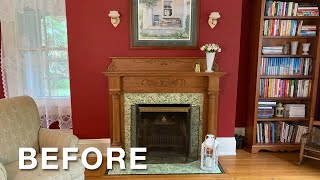
Redesigning the Living Room Part 1 - Home Improvement Woodworking
2.3K views
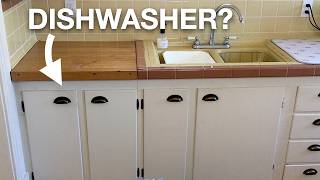
Custom Panel Dishwasher for Old Kitchen (Bosch Panel Ready Dishwasher) Home Improvement Woodworking
5.8K views

Removing Problem Trees - How Professionals Cut Trees with Tree Climbing, Bucket Truck, and more
4.5K views

How to Organize Home Improvement Plans - Our Experience in Prioritizing & Scheduling Renovation Work
8.9K views