
Studio Reset & Upgrade New Camera Setup Nail Creator Workspace Makeover 2026
🛍️ Products Mentioned (3)
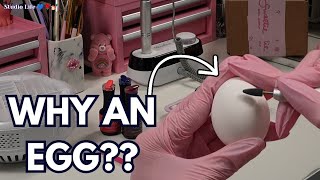
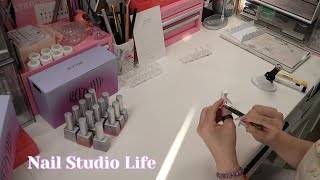
This video is a full studio reset and upgrade as I transition my nail content from filming on my phone to a dedicated camera setup built specifically for long-form, stationary nail filming. When I first moved into this space, I set everything up quickly just so I could keep creating. Over time, I realized my studio wasn’t fully working with me — especially as my filming setup became more complex. This reset is about slowing down, reworking my space, and building a setup that supports where my content is going next. In this video, I share the real behind-the-scenes of resetting my nail studio, upgrading my filming setup, switching to a dedicated camera, working through mounting challenges, updating my editing desk, and revealing the final studio setup. This is not an on-the-go rig — it’s a permanent studio solution designed for clarity, stability, and comfort while filming nail content. If you’re a nail creator or content creator trying to build a setup that truly works for you, I hope this video helps you feel a little less alone in the process 💙 🕒 CHAPTER TIMESTAMPS 0:00 Studio Reset & Workspace Makeover Begins 0:50 Reset Talk: Why I Needed This Studio Reset 11:05 New Tech I Got for Christmas (Studio Upgrade) 25:46 My Overhead Camera Setup Didn’t Work 33:20 Trying to Connect the Camera & Monitor 37:20 Upgrading My Editing Desk Setup 42:35 Realizing the Overhead Mount Was Too Heavy 46:18 Hitting a Breaking Point 51:16 Securing a Safe Overhead Camera Setup 52:04 Finalizing the Camera & Filming Setup 1:00:01 IKEA Storage Inserts & Studio Organization 1:01:55 Final Studio Walkthrough & Reveal 🛒 SHOP MY STUDIO SETUP A large portion of the gear used in this video was purchased through Amazon and is organized in my storefront for easy browsing. 🔗 Shop My Favorites: https://linktr.ee/bluerosenails 📌 A full detailed gear list is pinned in the comments for reference. ✨ FOLLOW ME Instagram: @BlueRoseNails 💙 Join my Facebook group: BR Nail Talk https://www.facebook.com/groups/639251690430232 💅 Blue Rose Merch: https://brnailshop.com 🛍 Design It Nail Cards: https://brnailshop.com/products/design-it-nail-cards 📩 Business Inquiries: bluerosenailstudio@gmail.com ⚠️ Some links may be affiliate links. Thank you for supporting my channel 💙 #StudioReset #StudioUpgrade #NailStudio #NailContentCreator #CreatorStudio #WorkspaceMakeover #CameraSetup #OverheadFilming #ContentCreatorLife #YouTubeCreator #HomeStudio #EditingDesk #TechUpgrade #NailYouTuber #BehindTheScenes #BlueRos
About This Video
Frequently Asked Questions
🎬 More from Blue Rose Nails
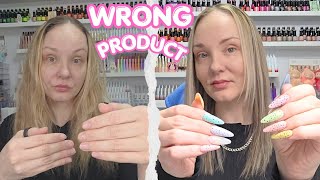
My Nails Kept Popping Off… Here’s What I Did Wrong 😳
585 views
Mixed Nail Art Haul | AliExpress & Shein Affordable Finds
2.8K views
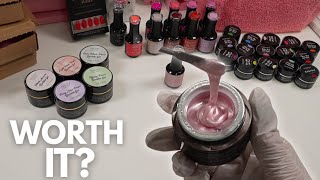
Testing NEW Pearlescent Builder Gels… Are They Worth It?
987 views
Learning Nail Drill Control | Better Pressure Practice
419 views
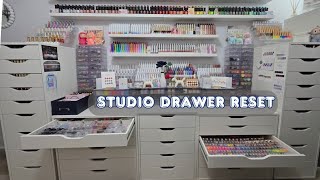
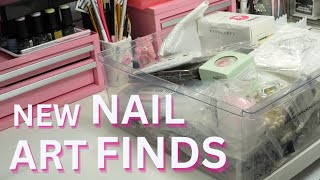
Resetting My Nail Studio Drawers | Full Organization Overhaul
1.8K views
Trying New Nail Products | Nail Art Play Day
1.4K views