
Bandai 1/72 scale A-Wing model build Pt II Assembly, painting & engine lighting
🛍️ Products Mentioned (3)


In this video, I cover the beginning stages of painting the model as well as lighting the engines. 00:00:00 painting and washing 00:16:26 engine lighting For commission build inquiries, please email me at modelsbychris@gmail.com FOR MODELLING SUPPLIES, CHECK OUT MY AMAZON STOREFRONT https://www.amazon.com/shop/christopherolson Disclaimer: Models by Chris may earn an affiliate commission when you buy through the links here Check out my website at https://www.modelsbychris.com Follow me on Facebook https://www.facebook.com/modelsbychris Follow me on Twitter https://twitter.com/modelsbychris Follow me on Flickr https://www.flickr.com/modelsbychris
About This Video
Frequently Asked Questions
🎬 More from Models By Chris
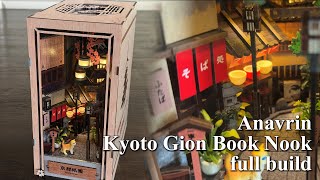
Anavrin Kyoto Gion Book Nook assembly time lapse
6.5K views
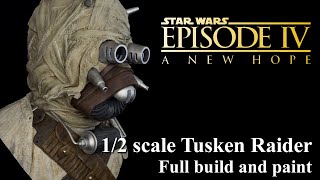
Stannarts 1/2 scale Tusken Raider Bust model Unboxing and full build and paint
3.7K views

Bandai 1/12 scale C-3PO & R2-D2 Model build Pt III: Finishing R2 - Completed Builds
4.9K views
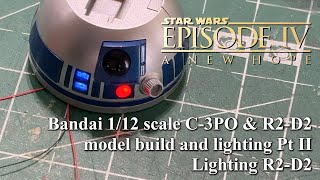
Bandai 1/12 scale C-3PO & R2-D2 Model build Pt II: Lighting R2-D2
4.5K views
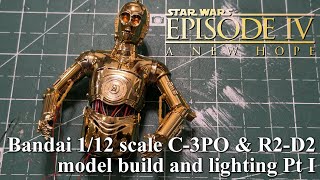
Bandai 1/12 scale C-3PO & R2-D2 Model build Pt I
22.6K views

Models By Chris Demo Reel 2025
2.5K views