
Recovering dull, gray highlights in Photoshop & TK9
🛍️ Products Mentioned (11)
What’s in my bag
My LUTs and presets
Music and SFX for videos
Photography
Blog
Glass
Amazon
Geni Product
Adorama

Head to
TK9 PLUGIN
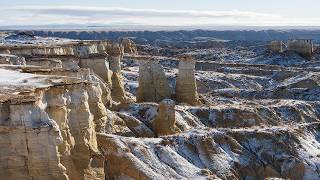
Head to https://squarespace.com/dominey to save 10% off your first purchase of a website or domain using code DOMINEY Recovering highlights in Camera Raw, Lightroom or other editors helps lower their intensity and increases detail, but it can often lead to flat, colorless pixels which look strange in relation to their environment. In this video, I demonstrate a few techniques for improving the appearance of highlights after they've been recovered using Adobe Photoshop and the TK9 plugin. TK9 Plugin: https://bit.ly/4a5YFiO -- Promo code 'DOMINEY' to save 15% Video where image was taken: https://youtu.be/k8dCQzbnrjE 0:00 Sponsor 1:02 Raw Recovery 4:03 Selective Color 5:22 Luminosity Masks 7:24 Solid Colors and Blend Modes 10:08 Gradient Map 12:12 Masking Edits 13:15 Outro 🎒 GEAR AND LINKS What’s in my bag: https://bit.ly/dominey-gear My LUTs and presets: https://dominey.lemonsqueezy.com/ Music and SFX for videos: https://bit.ly/dominey-epidemic-sound Photography: https://dominey.photography Blog: https://blog.dominey.photography Instagram: https://instagram.com/dominey Glass: https://glass.photo/tdominey Email: dominey@gmail.com LEGAL DISCLOSURE Some of the links in this description will direct you to online stores where I may earn referral credits at no additional cost to you. If you want to shop and support this channel, you may also use the following storewide links. 🛒 Amazon: https://geni.us/gotoamazon 🛒 B&H: https://geni.us/shopbandh 🛒 Adorama: https://geni.us/shopadorama
🎬 More from Todd Dominey

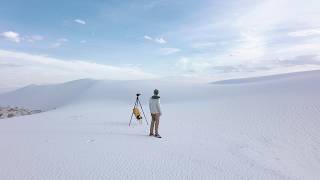
Wind is the enemy of sharp photos. Here's how to beat it.
2.0K views
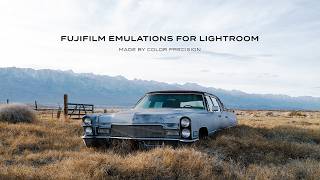
Real Fujifilm film colors: Color Precision profiles for Lightroom
7.6K views
Mora
4.4K views
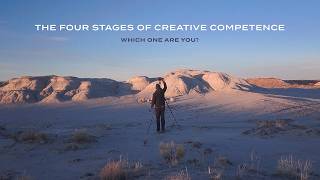
You're not a bad photographer. You're just in stage 2.
6.4K views
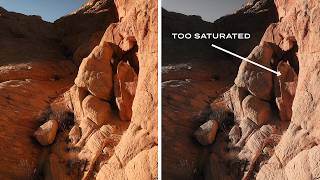
The saturation check you should be doing (but probably aren't)
8.4K views
Why your shadows look fake (and what to do about it)
8.8K views