
How To Make My Top 4 Audacity Audio Macro Settings To Enhance Your Audio.
I walk you through my step-by-step process for creating and using my top four macros (D, E, F, and I) in Audacity to achieve clean and professional-quality audio for YouTube. The tutorial covers essential effects like noise reduction, compression, normalization, and limiting, with detailed settings for each step. I also share tips for handling fan noise, managing peaks, and aligning audio with YouTube’s loudness standards. Whether you're a beginner or looking to optimize your workflow, this guide will help you produce crystal-clear audio for your projects. I use these audio settings for my Podcast, voiceover, and reaction channel. OTHER HELPFUL VIDEOS - https://youtu.be/XTYZ91Iza8I PODCASTING VIDEOS - https://youtu.be/jMgDixXEbW0 - My Full Podcasting Audio Setup: ZOOM H6 + Belkin Splitter+ Samson QH4-(Budget Friendly) - Unboxing The Samson Q2U Handheld USB Microphone Bundle-ASMR-
🎬 More from CREATE with JAY
CapCut Editing Tutorial for Beginners: Audio, Video & Text
9 views
How to Split Left & Right Stereo Audio Channels in Capcut, Audacity & Davinci Resolve
39 views
Here's WHY it Take SO Long to RECORD & EDIT Microphone Comparison Videos!!! (What No One Tells You)
29 views
Shure MV7 Plus vs RØDE vs DJI Mics — Which One Actually Sounds Best?
67 views
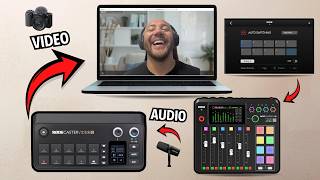
Connect the RodeCaster Video to a Rodecaster Pro 2 for Auto - Switching and Zoom Video Calls
249 views

CapCut Pricing Update April 2026: PC vs Mobile — Which Is Cheaper?
476 views