
Indigo.Design - Building Your First Artboard in Sketch
🛍️ Products Mentioned (1)
In this video, we'll take the Libraries that you downloaded from the Indigo Cloud and design our first Prototyping Artboard in Sketch. So, inside Sketch, by pressing the A key and selecting iPhone 8, we will get a properly sized Artboard for our design. At the top of this Artboard, let's go ahead and insert our main navigation, which will be a NAFBAR component. It should be positioned at the top left and span across the full width of the screen. From the overrides, we should select its type to title, and update the text to sign up. Note that these overrides are what we've added, additionally in the UI kit to ensure that we can get the right code generated output from the Indigo Design Visual Studio code plugin and your Sketch design. Now, let's go ahead and insert a color, such as primary 100 from the styling library, and size it so that it covers the Artboard underneath the navigation. On top of it, we'll insert a white color from the styling to use as the surface on top of which we'll layout the form. The first thing on the form will be the title text. So, let's insert it and space it 16 pixels from the left, top, and right border of the box. The title is a bit small, so let's change its size to an H4 and reduce the height of it. The text content of the title should be start budgeting. Let's make it use the primary color text to go along with our branding. Now, about the white color layer, we need to add the inputs for the actual form. Let's select an input of type line, position it 16 pixels under the title, and shrink its width to make space for a second one. We'll use this input for the first name of the person registering. However, we need to change the input state to filled, because we'll add the person's name, Eliza. By holding the shift and option keys and dragging to the right, we'll duplicate the input and only update the label and content to the last name, which is Morales. Now we need to insert another input, but this time let's do it from the menu. We'll select input again, position it and size it accordingly to build a full width and change its state to be filled. This input will be for the username. Now let's select it and hold the shift and option keys to duplicate it below for the password. After ordering the layers, we need to insert a couple of more things. Next, let's add the race button for submitting the form, change its text to sign up, and set its background to the blue color as the info color. Finally, let's insert another component, which will be a paragraph text for the terms of use, and it should say, by clicking the sign up button above, you accept the terms of use. Let's reduce the font size a little by choosing body two for this size override, and with that, our form is ready. To clean things up again, let's select all the layers and create a group called "Sign up" and make sure that this sign up is centered both vertically and horizontally in relation to the blue background below it. Optionally, we can go ahead and rename all of the symbols that we had in our design, because when we do the code generation, the name of the group and the elements under it will be components, and the HTML elements that you get in the code generator. In the next video we'll talk a little bit about layout and formatting, but at this point, you could also just push this design into the image based prototyping and the Indigo Cloud, and then pass it right through to the code generator in Visual Studio Code. Sign up today at http://indigo.design
🎬 More from Infragistics
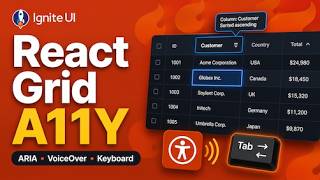
Accessible React Data Grid: ARIA, Screen Readers & Keyboard Navigation
37 views
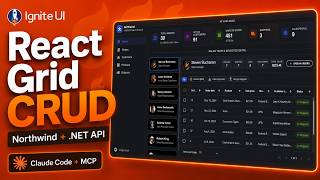
React Data Grid CRUD Tutorial with Ignite UI for React and .NET API
120 views
React Data Grid Tutorial: Ignite UI CLI, Claude Code & MCP
147 views

React Data Grid Tutorial with Claude Code, MCP Servers & Ignite UI
87 views
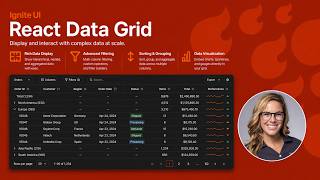
React Data Grid Explained: Features Every Enterprise React App Needs | Ignite UI
62 views
AI Agent Workflows with Ignite UI
141 views