
Make A ESP32 Wireless Prop Controller for Halloween – Trigger Multiple 12V Props with ESP NOW!
🛍️ Products Mentioned (1)
In this video, I’ll show you step-by-step how to trigger multiple 12V props for Halloween (or for any other purpose) using ESP-NOW and the ESP32 microcontroller. You’ll see exactly how wireless automation can bring your DIY Halloween props and animatronic controllers to life, making your decorations smarter and more interactive. Using ESP-NOW, you’ll learn to wirelessly control prop relays, automate your electronics, and create an epic smart home Halloween project—all without the need for WiFi or an internet connection. This project is perfect for anyone interested in Arduino projects, IoT Halloween builds, remote control props, or home automation. Whether you’re a maker, a STEM student, or just looking for a cool DIY prop controller idea, this electronics project delivers powerful results for animatronics DIY and beyond. With easy-to-follow explanations, you’ll discover how to build your own ESP32 project, integrate 12V relay control, and use wireless MOSFET / relay modules for the ultimate in Halloween electronics. If you’re into ESP32 tutorials, smart home automation, or IoT projects, this is a must-watch. Don’t forget to check out the ESP-NOW tutorial and see how you can hack your Halloween with Internet of Things tech and wireless prop triggers. 🔔🔔 SUBSCRIBE 🔔🔔 don't forget to subscribe and click the bell! https://www.youtube.com/channel/UCt4bQMxOytascRdZmRao0wg?sub_confirmation=1 🔒Stay safe online with NordVPN 👉 Get it here: https://go.nordvpn.net/aff_c?offer_id=15&aff_id=123676&url_id=902 (affiliate link) NordVPN helps protect your data, lets you stream securely from anywhere, and blocks ads & trackers with Threat Protection Pro™. It’s fast, easy, and works on all your devices. 🛡️ I may earn a small commission if you use this link (at no extra cost to you) — thank you for supporting the channel! ***NEW*** bmonsterlaboratory@gmail.com - send request to join the email list. Include "ADD ME" in subject and body of email so I can find request. follow on Facebook or X Facebook: https://www.facebook.com/BMonster-Laboratory-101410418059806/ Twitter: https://twitter.com/b_monsterlab some of my favorite videos: Robotic arm animation: https://youtu.be/5FDEhmlQ-mA Pit Droid animation using Bottango: https://youtu.be/E8tsB2GdYjQ Raspberry Pi NTFY messages! https://youtu.be/VFAqYllWhm0 Mastering servo motor control: https://youtu.be/GDnmAI_7lOk Blue Tooth remote control car: https://youtu.be/gVMBO25i6Ok add a dimmer to these LED strips or control the speed of a motor! https://youtu.be/ga-B9eR_puM Chapter: 0:00 intro 1:24 what is ESP-NOW 2:09 items used in this video 3:01 the MOSFET module 4:18 how I mounted my ESP32 in a breadboard 5:07 receiver wire connections 8:17 check MAC address for each receiver 8:31 MAC address code 9:25 receiver code 10:16 receiver wiring diagram 10:29 build the controller (transmitter) 12:07 controller (transmitter) wiring diagram 12:18 transmitter code 13:11 a look at all receivers & transmitter 14:42 the demo
About This Video
Frequently Asked Questions
🎬 More from BMonster Laboratory
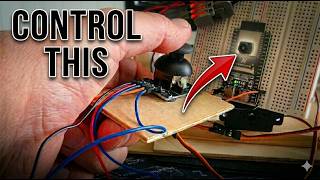
Control a Camera Wirelessly with ESP32 + Joystick (ESP-NOW Pan Tilt)
94 views
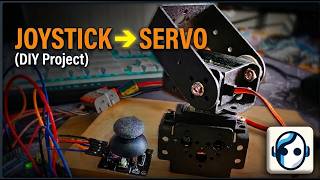
Simple Arduino Pan Tilt Servo Control with Joystick
831 views
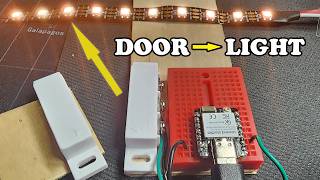
DIY Zigbee Smart Home with ESP32-C6: Door Sensor, Lights & Temperature
563 views
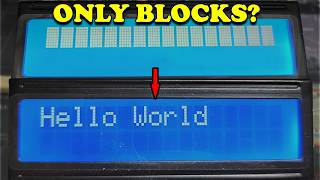
Arduino LCD Not Working 5 Common Mistakes Fix in Minutes - 1602 LCD Display
794 views
How To Properly Crimp Dupont Pins for Arduino – Wrong vs Right
1.1K views
I Built Motion-Activated Animatronic Eyes That Talk (Teensy 4.1 + WAV Audio)
268 views