
Make Luffa Soap on a Rope (Beginner Melt & Pour Soap Tutorial)
🛍️ Products Mentioned (20)
Melt and Pour Soap Base – 100 g
Fragrance Oil – 6 g
Mica Powder – small amount
Luffa Sponge – 1 slice
Twine – 1 piece
Silicone Mold
Written Post
Learn how to make DIY skincare, haircare, candles, and bath products with step-by-step tutorials on my blog
Piping Bags
Piping Tips
Candle Jars
Scale
Heat-Safe Bowls
Pouring Spout Container
Temperature Gun
Immersion Blender
Spatulas
Fragrance Oils (10% off entire order)
Patreon

Amazon Storefront
Learn how to make an easy luffa soap on a rope using melt and pour soap. This simple soap making project combines natural exfoliation from the luffa sponge with a handmade soap bar that’s perfect for the shower. The rope allows the soap to hang and dry between uses, which can help it last longer. This is a great beginner melt and pour soap project and only requires a few ingredients. In this tutorial I show step-by-step how to melt the soap, add fragrance and color, embed the luffa sponge, and pour the soap into the mold. This is a great project for: • beginner soap makers • handmade gifts • craft fairs • exfoliating shower soap Recipe (grams) Melt and Pour Soap Base – 100 g https://amzn.to/4decyzY Fragrance Oil – 6 g https://nurturehandmade.com/ePUAus Mica Powder – small amount https://nurturehandmade.com/dRj64m Luffa Sponge – 1 slice https://amzn.to/4sI6555 Twine – 1 piece https://amzn.to/4rYE74W Silicone Mold https://amzn.to/4s6ViS1 Tip: I used white melt and pour soap which makes an opaque bar. If you want a translucent soap, use clear melt and pour soap base. https://www.youtube.com/watch?v=HROP6j_jxNo Written Post https://summerrain.website/beginners-guide-to-making-melt-and-pour-soap/ Helpful Tips • Melt soap in 10 second intervals, stirring between each one • Spray rubbing alcohol if mica won’t mix in to reduce surface tension • Spray the top of the soap after pouring to remove bubbles • If you run short on soap, spray the first layer with alcohol before pouring more melted soap Timestamps 00:00 Intro 00:13 Ingredients and supplies 01:28 Preparing the luffa and rope 02:32 Cutting and weighing the soap 03:09 Melting the melt and pour soap 03:23 Adding fragrance oil and mica 04:00 Pouring the soap into the mold 04:20 Fixing a short pour (adding more soap) 04:43 Finished luffa soap on a rope 📖 Learn how to make DIY skincare, haircare, candles, and bath products with step-by-step tutorials on my blog: https://summerrain.website 💬 Let me know in the comments what DIY you want to see next! ✨ Equipment & Supplies I Use ✨ Piping Bags: https://amzn.to/4018w6J Piping Tips: https://amzn.to/4esnIjb Candle Jars: https://amzn.to/4evbbvi Scale: https://amzn.to/4aOD2ob Heat-Safe Bowls: https://amzn.to/3rB1PoN Pouring Spout Container: https://amzn.to/3vffe8m Temperature Gun: https://amzn.to/38v6cu6 Immersion Blender: https://amzn.to/3qB49dU Spatulas: https://amzn.to/2OGSKvS Fragrance Oils (10% off entire order): https://nurturehandmade.com/summerrain I am a participant in the Amazon Affiliate Program and may earn a small commission from qualifying purchases at no extra cost to you. 🌸 Find Me Elsewhere 🌸 Blog: https://summerrain.website Facebook: https://facebook.com/summerrain.website/ Pinterest: https://www.pinterest.com/summerrainblog/ Patreon: https://www.patreon.com/Summerraindiy TikTok: https://www.tiktok.com/@summerraindiy Amazon Storefront https://www.amazon.com/shop/summerraindiy #meltandpoursoap #soapmaking #soapmakingathome
🎬 More from Summer Rain DIY
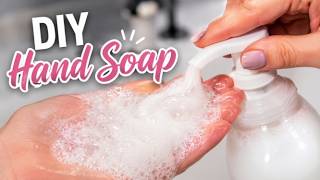
DIY Pearly Hand Soap That Feels Like Store Bought (Step-by-Step + pH Testing)
109 views
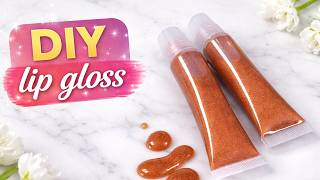
DIY Shimmer Lip Gloss Recipe (Non-Sticky + Beginner Friendly)
226 views
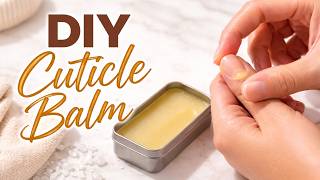
DIY Cuticle Balm for Dry Cracked Cuticles (FREE Recipe)
389 views
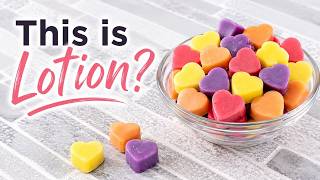
Vegan Lotion Dots for Beginners (Easy Solid Lotion Recipe)
393 views
DIY Gardener's Soap that Actually Cleans DIRTY Hands
414 views

Stop Making Greasy Body Butter! Try This Instead
454 views