
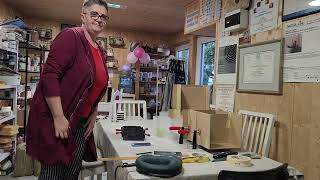
200. Wax Techniques for Ceramics: Easy DIY with Adhesive Strips???
The technique of using wax and adhesive tape in ceramics is a creative and accessible way to add intricate designs to your ceramic pieces. Here's how it works: 1. **Preparation**: Begin by preparing your ceramic piece, ensuring it's clean and ready for decoration. This could be a pot, a plate, or any other ceramic item. 2. **Design Planning**: Next, plan your design. Use adhesive tape to outline the areas where you want the design to appear. The tape acts as a resist, protecting the underlying surface from the wax that will be applied. 3. **Applying Wax**: Once your tape is in place, apply a layer of wax over the entire surface, including the taped areas. The wax can be brushed, painted, or dipped, depending on the effect you're aiming for. This layer serves two purposes: it resists glaze during the firing process and adds texture to the final piece. 4. **Removing the Tape**: After the wax has been applied and is dry, carefully remove the adhesive tape. This reveals the bare ceramic underneath, which will later be glazed differently from the waxed areas. 5. **Glazing and Firing**: Now, you can glaze your piece. The areas where the tape was removed will absorb the glaze, while the waxed areas will resist it, creating a contrast. Once the glaze has been applied, fire your piece in a kiln. The heat will burn off the wax, leaving behind a beautiful, contrasting pattern on the ceramic. This technique is particularly effective for creating clean, sharp lines and intricate designs, adding a modern and professional touch to your ceramics. It's also versatile, allowing for endless creative possibilities by varying the patterns and types of glaze used.
About This Video
Frequently Asked Questions
🎬 More from Peti element
Izrada dvostrukog kalupa 1 dio
418 views
Little Piece of Dirt
168 views
Lijevanje gipsanih kalupa pomocu master matrice sa 3d printera
274 views
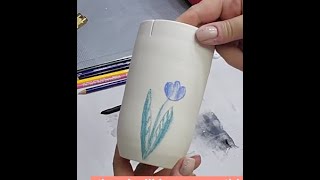
209. "Create Your Own Stunning Pastels for Decorating Clay Art – DIY Magic!"
484 views

208. Transformirajte Glinene Predmete Uz Ove Tajne Dekoracije sa Slipom!"
350 views
207."Otkrij Tajne Poglazurnog Oslikavanja: Umjetnost Koja Oduzima Dah!"
304 views