
195. Mastering Wax Techniques on Clay: Step-by-Step Guide for Stunning Results
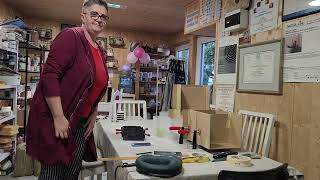
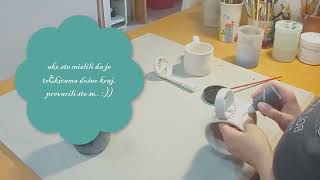
"Hello everyone" Using wax on a clay object can serve to protect the surface, enhance its appearance, or achieve a shine. Here's how you can do it: Necessary Materials: Clay object (ensure it is completely dry and fired) Beeswax or specialized ceramic wax Cloth or brush Heat source such as a hairdryer (optional) Steps: Preparing the Object: Ensure that the clay object is completely dry and fired. The surface must be clean and free of dust or grease. Heating the Wax: Gently heat the wax so that it becomes soft and easier to apply. You can use a hairdryer or gently melt it over steam. Applying the Wax: Apply the wax to the surface of the clay object using a cloth or brush. Evenly distribute the wax over the entire surface. Rubbing In: Rub the wax into the clay using circular motions. If you are using a cloth, rub until the wax is absorbed into the surface. Removing Excess Wax: After rubbing in the wax, remove the excess wax with a dry, clean cloth. This will help make the surface smooth and shiny. Polishing: If you want extra shine, you can polish the surface with a soft cloth. Polishing will bring out the natural shine of the wax. Drying and Hardening: Allow the wax to dry and harden completely. This can take several hours, depending on the type of wax and environmental conditions. Tips: Always work in a well-ventilated area to avoid inhaling wax fumes. Test the wax on a small part of the object before applying it to the entire surface to ensure satisfactory results. By following these steps, your clay object will receive a beautiful, protective layer of wax, providing it with longer-lasting beauty and protection.
About This Video
Frequently Asked Questions
🎬 More from Peti element
Izrada dvostrukog kalupa 1 dio
418 views
Little Piece of Dirt
168 views
Lijevanje gipsanih kalupa pomocu master matrice sa 3d printera
274 views
209. "Create Your Own Stunning Pastels for Decorating Clay Art – DIY Magic!"
484 views

208. Transformirajte Glinene Predmete Uz Ove Tajne Dekoracije sa Slipom!"
350 views
207."Otkrij Tajne Poglazurnog Oslikavanja: Umjetnost Koja Oduzima Dah!"
304 views