
How To INSTALL CarPlay Screen + HARDWIRE It & Add A REVERSING Camera (Step-by-Step)
🛍️ Products Mentioned (8)
Browse Carpuride screens
Digital Multimeter
Hardwire kit
Posi-Tap Connectors
Long-Nose Pliers
Socket Wrench Set
Trim removal tools
Carpuride Product
In this step-by-step guide, learn how to install a dashboard screen, hardwire it to your fuse box, and add a reversing camera that activates automatically. Upgrade your car with Apple CarPlay or Android Auto the clean way - no messy cables! ⭐ Check out Carpuride’s screens (affiliate links): 💸 Use discount code LENSOFJAMES to get 30% off at checkout 🌎🇺🇸🇬🇧 Carpuride Website: W703: https://carpuride.lensofjames.com/W703 Browse Carpuride screens: https://carpuride.lensofjames.com/shop 🔧 Tools 👉 Digital Multimeter: https://amzn.to/3OwJtGb 👉 Hardwire kit: https://amzn.to/4cMfq6B 👉 Posi-Tap Connectors: https://amzn.to/3OMg0rO 👉 Long-Nose Pliers: https://amzn.to/41AQusx 👉 Socket Wrench Set: https://amzn.to/4mz93Hf 👉 Trim removal tools: https://amzn.to/4ttYlUM Upgrade your car with Apple CarPlay or Android Auto the clean, professional way—without messy cables or bulky setups. In this complete step-by-step guide, you’ll learn how to install a portable dashboard screen, hardwire it into your fuse box, and install a reversing camera that automatically activates when you go into reverse. If you drive an older car without built-in CarPlay or Android Auto, this DIY upgrade is one of the easiest and most effective ways to modernise your setup. Instead of replacing your head unit, this method gives you a clean, factory-style finish while keeping full functionality. Perfect for beginners and DIY car enthusiasts alike. 🔧 In this video, you’ll learn how to: • Install a portable CarPlay / Android Auto screen • Hardwire a car screen into your fuse box (ACC & constant power) • Find the right fuses safely using a multimeter • Use fuse taps / add-a-circuit connectors correctly • Install and wire a reversing (backup) camera • Connect the reverse trigger wire for automatic switching • Route and hide cables for a clean, no-mess install • Set up parking mode for added security when parked This install method works on most vehicles and is ideal if you want a clean CarPlay install, a hardwired dash setup, or a reversing camera upgrade without paying for expensive professional installation. In the video I feature a Nissan NV200 and Peugeot 107 as part of the install. ⏱ Chapters: 00:00 Intro – CarPlay Screen, Hardwiring & Reversing Camera Overview 00:54 Overview of the Install Process (3 Key Stages) 01:33 Best Place to Mount a Dashboard Screen 02:38 What is Hardwiring? Benefits Explained 03:22 Tools Needed for Hardwiring a Car Screen 03:46 How to Find the Right Fuses in Your Car 07:01 Removing Fuses & Understanding Fuse Types 07:41 How to Check Fuse Direction (Important Step) 08:42 Installing Fuse Taps Safely 09:57 Ground Wire Connection Explained 10:29 Tidying & Routing Hardwire Cables 10:48 Installing a Reversing Camera (Overview) 11:52 How to Identify the Reverse Light Wire 13:05 Connecting the Reverse Trigger Wire 14:36 Testing the Reversing Camera 14:59 Mounting the Rear Cam 15:35 Routing the Camera Cable Cleanly 16:40 Bonus: Parking Mode Setup Explained 17:22 Final Thoughts & Completed Install 📺 Watch next: Carpuride W703 Review: https://youtu.be/V43ZjUpWJDI CarpodGo Mini Review [NEW for 2026]: https://youtu.be/rrfnMgS32ww Carpuride W125S Review: https://youtu.be/pa3oqw7HHvA 👉 DISCLAIMER: In this video I am in no way stating that this is the proper way to undertake the work shown in this video, however after my own research & using my own experience, I believe this to be the way that is best suited to my vehicle & the way I intend to use it. #CarPlayInstallation #AndroidAutoUpgrade #CarTechDIY #ReversingCamera #HardwireInstall
🎬 More from Lens Of James

70mai A810 Lite Review | Best Budget 4K Dash Cam in 2026?
1.2K views
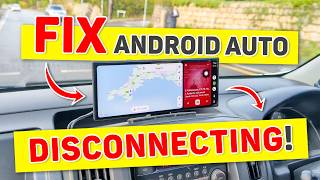
Android Auto Broken After Update? Here’s the Fix That Actually Works
6.3K views
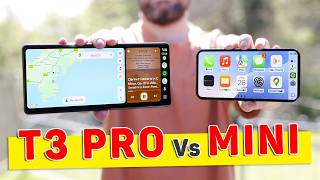
Carpodgo T3 Pro vs Mini – Best Portable Apple CarPlay & Android Auto Screen?
4.2K views
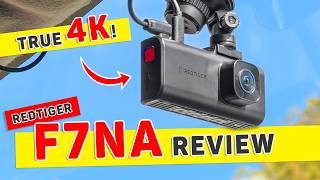
Redtiger F7NA Review: The Best Budget 4K Dash Cam In 2026?
1.1K views

Carpuride W703 Tested: The Ultimate Budget CarPlay Screen For Older Cars?
2.0K views
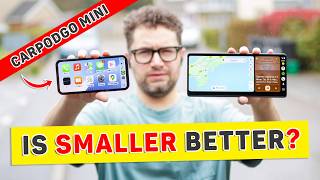
No Apple CarPlay? Fix It in Any Car | CarpodGo Mini Review
31.4K views