
How To Draw Perspective Background in Ibis Paint X (FAST & EASY) | 100% WORKS | NO Yapping!
Learn How To Draw Perspective Background in Ibis Paint X in this video (EASY FULL GUIDE) | Draw Perspective Background in Ibis Paint X, for more videos like this then please leave a like👍🏻 Without Yapping, Here's How To Draw Perspective Background in Ibis Paint X. First open your ibis paint application and choose the My Gallery option to access your workspace. Next, select the plus logo on the top bar and choose your preferred canvas size to begin. To start drawing, enable the grid feature and adjust the grid lines so they match your desired proportions. After that, set your base layer and choose the rectangle shape from the shape options. Draw a rectangle on your canvas to serve as your initial object. Then go to the layer option and select move layer so you can reposition it. Enable the perspective form and drag the corner dots to transform the rectangle into a perspective object. Use the grid lines to keep your adjustments aligned at the correct angles. When you are done adjusting, add a blank layer to create another object. Set the layer placement carefully, following the order of your objects. You can draw the next object using the same steps as the first one. Position the new object by using the move layer tool, then adjust its perspective again with the perspective form. Alternatively, you can draw it manually using line tools. Draw the lines by following the direction established by the first object. Use the grid lines as a guide to ensure your lines are placed accurately and follow the correct direction. Combine layers when drawing additional objects so your work stays organized. This approach prevents you from restarting the entire process if you make a mistake. Continue by drawing supporting objects to improve and complete your background. Always remember to follow the perspective direction you have established earlier. Make sure to review your composition before exporting to confirm that all objects are aligned correctly and that the perspective looks consistent across the entire canvas. Check each layer individually and verify that no elements are misplaced or overlapping incorrectly. If needed, return to the move layer or perspective form tools to make final adjustments. You can also refine edges or clean up lines using eraser or brush tools for a more polished result. Taking a moment to inspect your work will help ensure the final image appears. Finally, when you are finished designing, save your project by going to the export option. Choose save image and click OK to complete the process. Congratulation, In this video you just learn and know everything about How To Draw Perspective Background in Ibis Paint X, so this video is really perfect for people who are interested and looking for a topic related to : how to draw perspective background in ibis paint x, how to draw perspective background ibis paint x, how to draw ibis paint x perspective background, how to draw a perspective background in ibis paint x, how to draw a perspective background on ibis paint x, draw perspective background in ibis paint x, draw perspective background ibis paint x, perspective background drawing ibis paint x, perspective background drawing in ibis paint x, how to draw a perspective background ibis paint x Guide Hub is Trusted Place For Clear & Simple How-To's and Guides (Helping You Solve Problems, Learn New Skills, and Tips) 𝗕𝘂𝘀𝗶𝗻𝗲𝘀𝘀 𝗜𝗻𝗾𝘂𝗶𝗿𝗶𝗲𝘀💌: guidehub.ch@gmail.com Please Like👍🏻, Comment, and Subscribe Guide Hub
🎬 More from Guide Hub (2026 WORKING GUIDES)
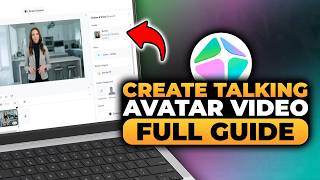
How To Create Talking Avatar Video With HeyGen (FAST & EASY) | 100% WORKS | NO Yapping, To The Point
0 views
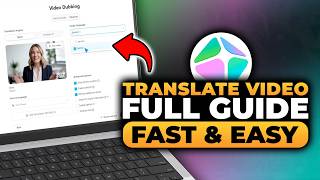
How To Translate Video in HeyGen (FAST & EASY) | 100% WORKS | NO Yapping! | HeyGen Video Translate
0 views

How To Create Geopolitics News Video HeyGen (FAST & EASY) | 100% WORKS | NO Yapping, To The Point!
0 views
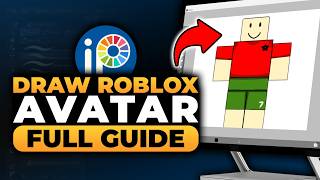
How To Draw Your Roblox Avatar in Ibis Paint (FAST & EASY) | 100% WORKS | NO Yapping, To The Point!
0 views

Ibis Paint Draw Car Structure Tutorial (FAST & EASY) | 100% WORKS | NO Yapping, To The Point!
0 views
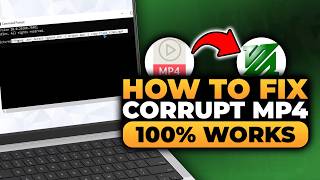
How To Fix Corrupt MP4 With FFmpeg (100% WORKS) | FAST & EASY | NO Yapping, To The Point!
0 views