
How To Draw Hair On Ibis Paint X (FAST & EASY) | 100% WORKS | NO Yapping, To The Point!
Learn How To Draw Hair On Ibis Paint X in this video (EASY FULL GUIDE) | Draw Hair On Ibis Paint X, for more videos like this then please leave a like. Without Yapping, Here's How To Draw Hair On Ibis Paint X. First Open your Ibis Paint app to begin the drawing process. Choose “My Gallery” from the main screen to access your workspace. After that, select the plus logo and pick your preferred canvas size according to your project needs. To make the hair drawing process easier, start by creating a head base that will guide your proportions. Go to the ruler option and enable the circle ruler to help you draw a balanced shape. Next, pick your brush texture, choose a suitable sketch color, and adjust the thickness to match your style. Then, draw a circle on your canvas as the foundation of the head. Once the circle is complete, transform it into a head shape by using the move layer option, adjusting it to resemble a natural head form. After that, enable the mesh transform feature and refine the shape further until it looks accurate. When your head base is ready, add a blank layer above the head layer to keep your work organized. Change your brush into a hair texture if you want to create detailed hair strands. Select your desired hair color and adjust the brush thickness for better control. Begin drawing the hair by following your chosen hairstyle, making sure the flow looks natural. Use a combination of layers to avoid unnecessary editing and to keep different parts separate. You can also create shaped hair details to add variation and interest. Use a single brush texture that match your hair style. Then go to the shape selector and choose bezier curves for smooth, wavy, and curvy hair. Or pick polyline for sharp, pointy, and spiky hair. After outlining the hair, fill it with your desired color, then add some hair line to make it natural. Add shading effects using combination of brush tools and color to give it depth and dimension. Finally, after finishing your design, save your drawing by going to the export option, choose save image, and then select OK to render and store your finished artwork. Take a time to reviewing your progress. By reviewing, you can fix some correction so you will got a better result. Use combination of layer when detailing the hair. It will prevent you from restarting from the beginning if some mistake happens. Congratulation, In this video you just learn and know everything about How To Draw Hair On Ibis Paint X, so this video is really perfect for people who are interested and looking for a topic related to : how to draw hair on ibis paint x, how to draw hair in ibis paint x, how to draw hair ibis paint x, how to draw ibis paint x hair, how to draw a hair in ibis paint x, how to draw a hair on ibis paint x, draw hair in ibis paint x, how to draw hair with ibis paint x, draw hair ibis paint x, how to draw a hair ibis paint x, ibis paint x how to draw hair, how to draw hair using ibis paint x, hair drawing ibis paint x, hair drawing in ibis paint x, drawing hair in ibis paint x Guide Hub is Trusted Place For Clear & Simple How-To's and Guides (Helping You Solve Problems, Learn New Skills, and Tips) 𝗕𝘂𝘀𝗶𝗻𝗲𝘀𝘀 𝗜𝗻𝗾𝘂𝗶𝗿𝗶𝗲𝘀💌: guidehub.ch@gmail.com Please Like, Comment, and Subscribe Guide Hub
🎬 More from Guide Hub (2026 WORKING GUIDES)
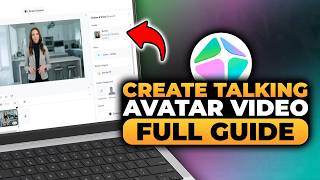
How To Create Talking Avatar Video With HeyGen (FAST & EASY) | 100% WORKS | NO Yapping, To The Point
0 views
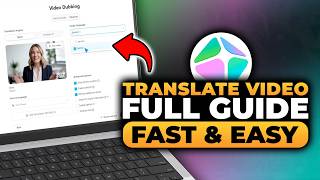
How To Translate Video in HeyGen (FAST & EASY) | 100% WORKS | NO Yapping! | HeyGen Video Translate
0 views

How To Create Geopolitics News Video HeyGen (FAST & EASY) | 100% WORKS | NO Yapping, To The Point!
0 views
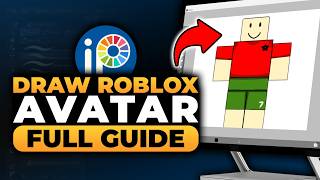
How To Draw Your Roblox Avatar in Ibis Paint (FAST & EASY) | 100% WORKS | NO Yapping, To The Point!
0 views
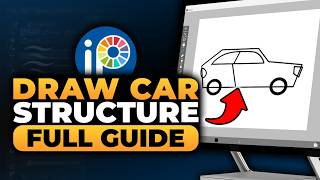
Ibis Paint Draw Car Structure Tutorial (FAST & EASY) | 100% WORKS | NO Yapping, To The Point!
0 views

How To Fix Corrupt MP4 With FFmpeg (100% WORKS) | FAST & EASY | NO Yapping, To The Point!
0 views