
Key Mistakes to Avoid ❗ Trimmer Carburetor Rebuild 🔧
🛍️ Products Mentioned (3)
Find out essential tips and tricks to remember when rebuilding your trimmer carburetor. If your trimmer won't start or leaks fuel, a rebuild and cleaning can likely fix the problem. Amazon Affiliate Links: Larger Ultrasonic Cleaner (Best): https://amzn.to/3VuJnPX Budget Ultrasonic Cleaner (Good): https://amzn.to/3VzVxr1 Pine-sol: https://amzn.to/3Vjqs9B As an Amazon Associate I earn from qualifying purchases If you place an order, thanks for support the channel! **Video Overview** 1. 🔧 **Parts Comparison** - Ensure new parts match old ones. - Avoid mixing new and old parts. - Check diaphragm pin height using a digital caliper. - Compare lever angles and ensure the correct pin and lever combination. - Inspect and replace the inlet needle; avoid reusing the old one. - Carefully compare gaskets; even small differences matter. 2. 🧽 **Cleaning the Carburetor** - Use an ultrasonic cleaner with a 50% Pine-sol and 50% water solution. - Clean for about 10 minutes to remove all deposits. - Link to a low-cost ultrasonic cleaner is BELOW! 3. 🔩 **Re-Installing Parts** - Take photos while disassembling to remember the order. - Ensure the lever moves smoothly; if stuck, re-install it properly. - Tighten screws in an X pattern to distribute pressure evenly and prevent leaks. 4. 🛠️ **Fuel Lines & Final Adjustments** - Replace stiff or cracking fuel lines. - Re-connect throttle cable in the same hole as before. - Adjust high and low screws. Reset screws if trimmer doesn't start. - See THIS Video for the High & Low Screw Adjustment Procedure: https://www.youtube.com/watch?v=uff2RiJqebs ⚠️ DISCLAIMER: Use of the information in this video is solely at your own risk. The creator of this video assumes no liability for any property damage, injury or expenses incurred as a result of any of the information contained in this video. No information contained in this video shall create any expressed or implied warranty or guarantee of any particular result. The creator of this video makes no claims, promises or guarantees about the accuracy, completeness, or applicability of the procedures and instructions contained in this video. Any injury, damage, or loss that might occur as a result of improper application, improper use of tools or equipment, or from the information contained in this video, is solely the responsibility of the user.
🎬 More from Clever Fix
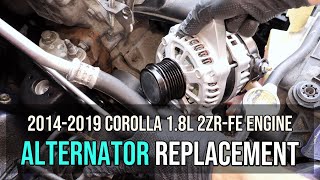
Alternator Replacement, 2014-2019 Toyota Corolla 2ZR-FE 1.8L
7.2K views
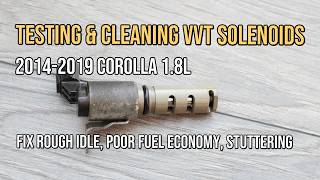
Testing and Cleaning VVT Solenoids, 2014-2019 Toyota Corolla 1.8L
6.9K views
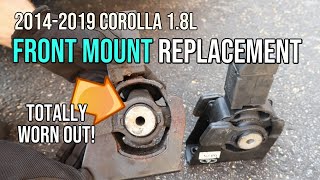
Front Engine Mount Replacement, 2014-2019 Toyota Corolla 1.8L
12.2K views

MAF Sensor Cleaning - Toyota Corolla 1.8L, 2014, 2015, 2016, 2017, 2018, 2019
22.4K views
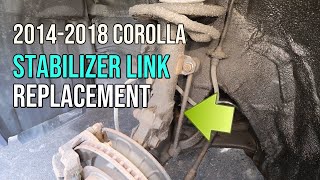
Stabilizer bar Link Replacement, 2014-2018 Toyota Corolla
8.6K views
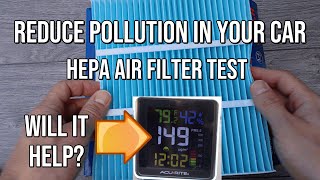
Reduce Pollution in Your Car, HEPA Cabin Air Filter Test
5.6K views