
Page Turn Effect - Photoshop Tutorial
🛍️ Products Mentioned (10)
Graphics Tablet (Standard)
Graphics Tablet (Pro)
Keyboard
Mouse
Headset
MacBook Pro
Ergonomic Chair
Lightroom Channel
Tumblr
Today's tutorial will demonstrate how to curl the edges of a photo using the warp-free transform tool in photoshop adobe cc. This photoshop effect gives the impression that the photo or image is being turned over to the next image. The effect can also be used for such purposes as peeling stickers of flat surfaces. This tutorial includes the following duplicating layers, free transform, warp tool, merging layers, marquee tool, gradient and drop shadow found under blending mode. Social Media IG: https://www.instagram.com/photoshoping_tutorials/ FB: https://www.facebook.com/AnthonyLamPhotography Twitter: https://twitter.com/PhotoshopEdit_ Tumblr: https://photoshop-edits.tumblr.com/ Pinterest: https://www.pinterest.com.au/PhotoshopEdits_/ —————————————————————- Check Out My Lightroom Youtube Channel - (Lightroom Is basically Photoshop Camera Raw) Lightroom Channel ➡️ https://bit.ly/2QItuX7 Lightroom Fb Group ➡️ https://www.facebook.com/groups/123263719767242 —————————————————————- My Equipment / Setup ➡️ Graphics Tablet (Standard) - https://amzn.to/3AIPrIB Graphics Tablet (Pro) - https://amzn.to/3g64jXU Keyboard - https://amzn.to/3AIPXGx Mouse - https://amzn.to/3AI36jc Headset - https://amzn.to/3r70yrI MacBook Pro - https://amzn.to/34gaG8w Ergonomic Chair - https://amzn.to/3AFiiNY —————————————————————- Thanks for watching please leave a like and subscribe and also comment below if you have any questions thank you Photoshop Tips, Tricks and Shortcuts Start off by duplicating your layer turn off the eye for your original layer so it is no longer visible grab the marquee rectangle tool and make a small selection in the bottom right corner next click the circle icon at the bottom and select gradient click the bar and choose the black to white option if it’s not black to white your selected colors are not currently black and white next step right-click your layer and select merge down when that is done press Cmd or Ctrl + T and choose the “warp” option click and hold the bottom right and drag it to the middle and select the 2 other pointers and resize the image so its not so distorted when that is done right click your layer select blending options and select drop shadow change the size to 250pixels and the other 2 options to 50 press ok and now drag or open your 2nd image and place it below the layer your image should now be visible underneath the curve.
🎬 More from Anthony Lam
How To Animate Clouds Using Photoshop
7.4K views
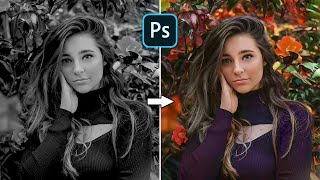
Restore Black And White Photos With This Amazing Website
7.1K views
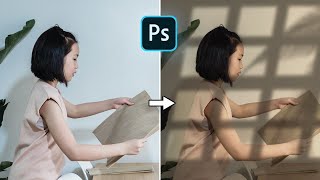
Window Light Effect | Photoshop 2023 Tutorial
4.3K views
Wizard Vs Dragon | Photoshop Manipulation Artwork 2022
1.9K views

Create Realistic Reflective Puddles | Photoshop 2022 Tutorial
10.8K views
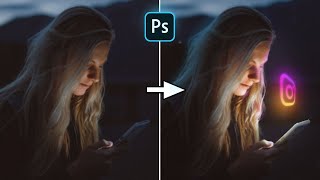
Photoshop | How To Create 3D Glowing Social Media Icons
3.4K views